Material List:
-Stamp Set: Blended Seasons
-Sentiment Stamp Set: Blended Seasons
-Dies: None
-Cardstock: Old Olive, Whisper White
-Inks: Versamark
-Stampin' Blends: Pumpkin Pie, Daffodil Delight, Old Olive, Crumb Cake
-Other: Copper Embossing Powder, Embossing Buddy, Heat Tool
-Basics: Paper Trimmer, Adhesive Tape Runner, Tombow Glue, Dimensionals, Mini Glue Dots, Scissors, Big Shot
-Card Base: Whisper White A2 Card (Folded Size 5-1/2" x 4-1/4")
-Old Olive Bottom Base Mat: (5-1/4" x 4")
-Whisper White Top Mat: (5" x 3-3/4")
Directions:
--
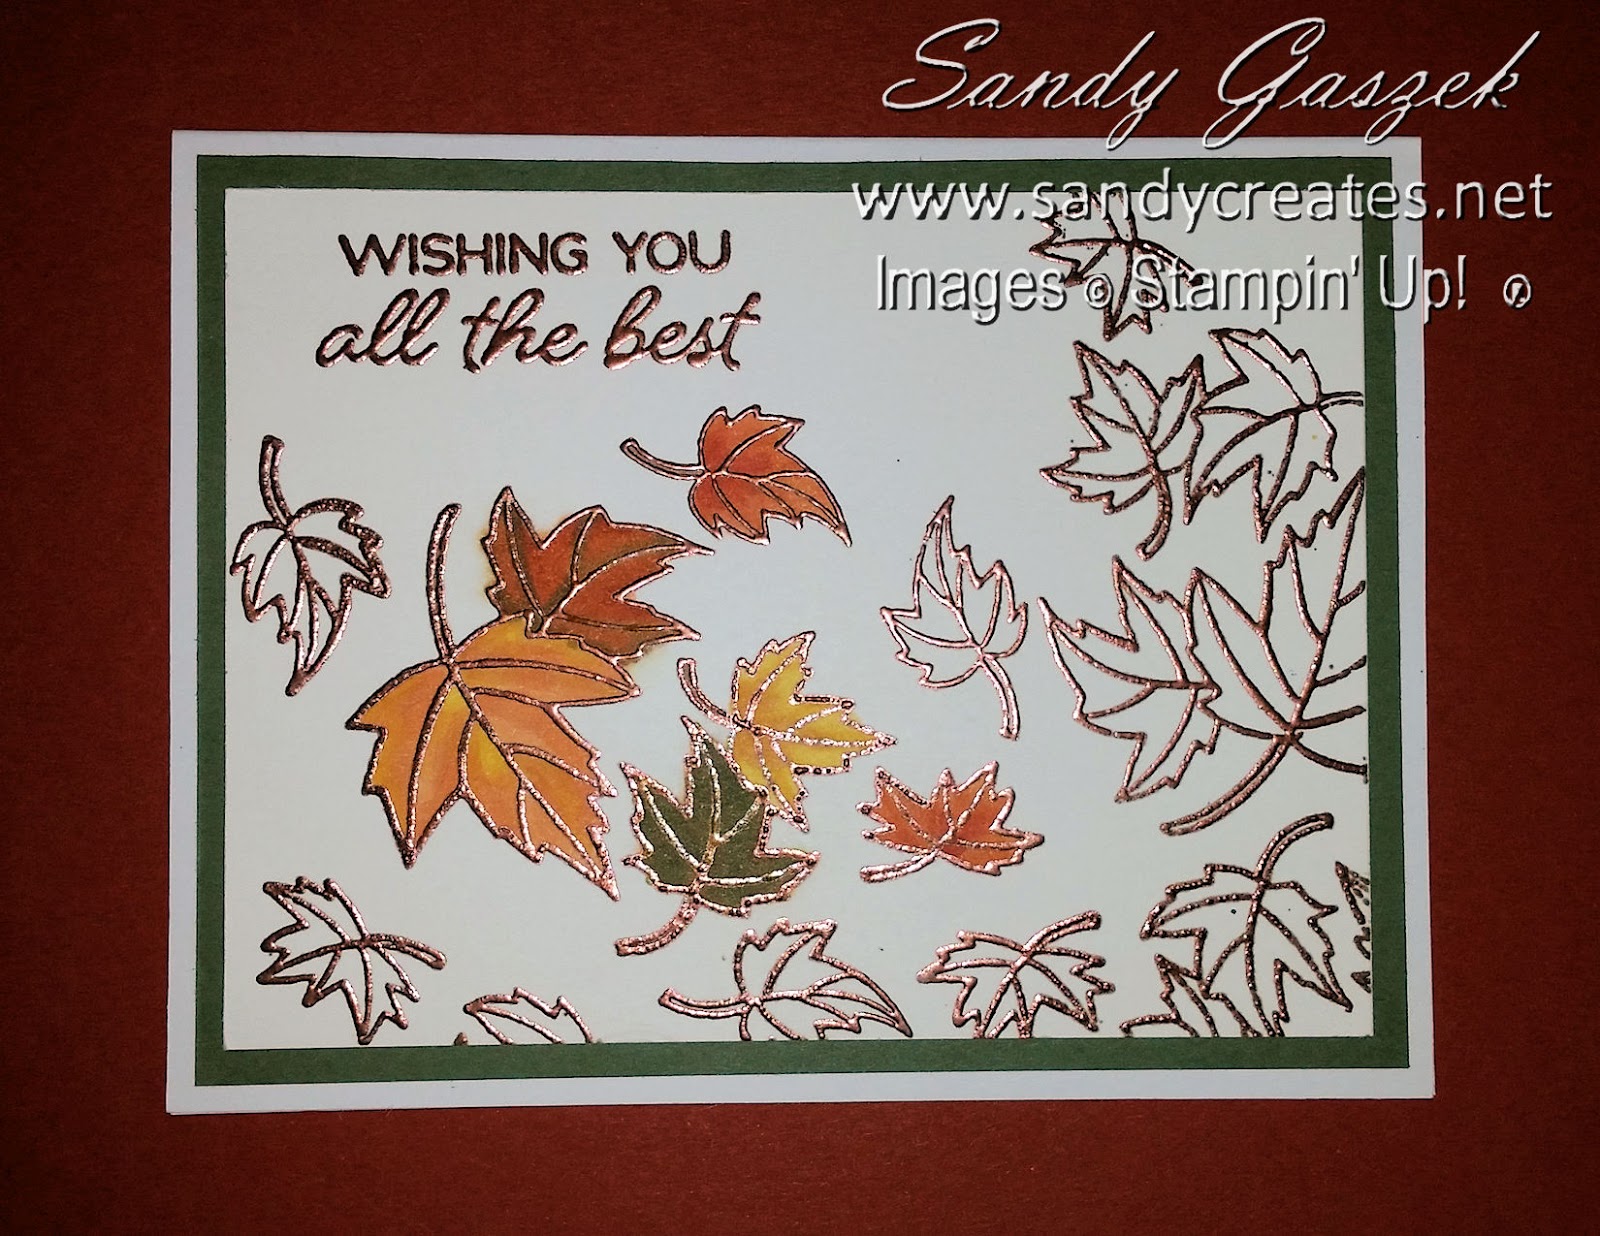
Cut the top and bottom mats to size per list.
--Apply powder from Embossing Buddy across front of WW Mat.
--Stamp the Whisper White mat with Leaves Stamp & Sentiment from Blended Seasons with Versamark ink as shown (fill in with partial stamping to cover more of the mat ).
--Sprinkle with Copper Embossing Powder
--Heat Set the embossing powder with Heat Tool
--Use Stampin Blends to color all or some of the leaves as shown or desired.
--Attach White Mat to Old Olive Bottom Mat & then both to the Card Base using tape runner.
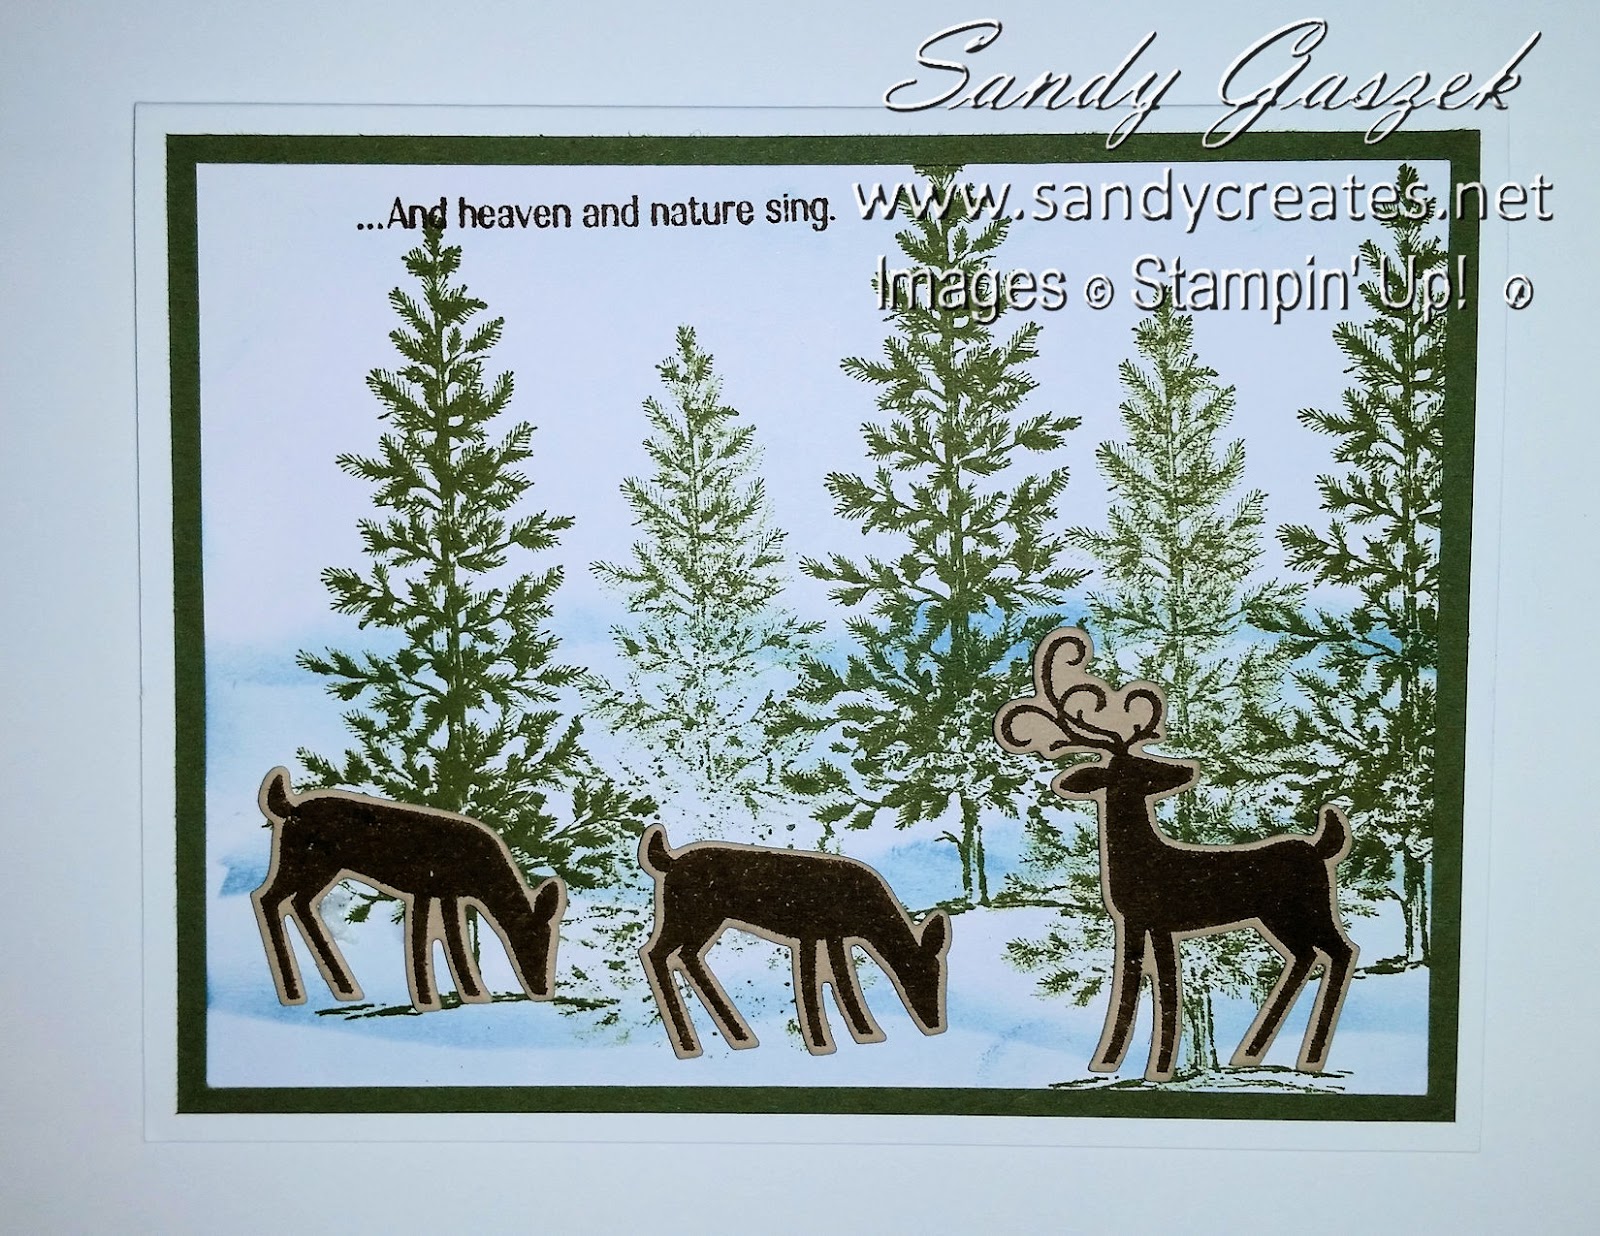


