
Below is a link to a video for making this card and another example.
 Material List:

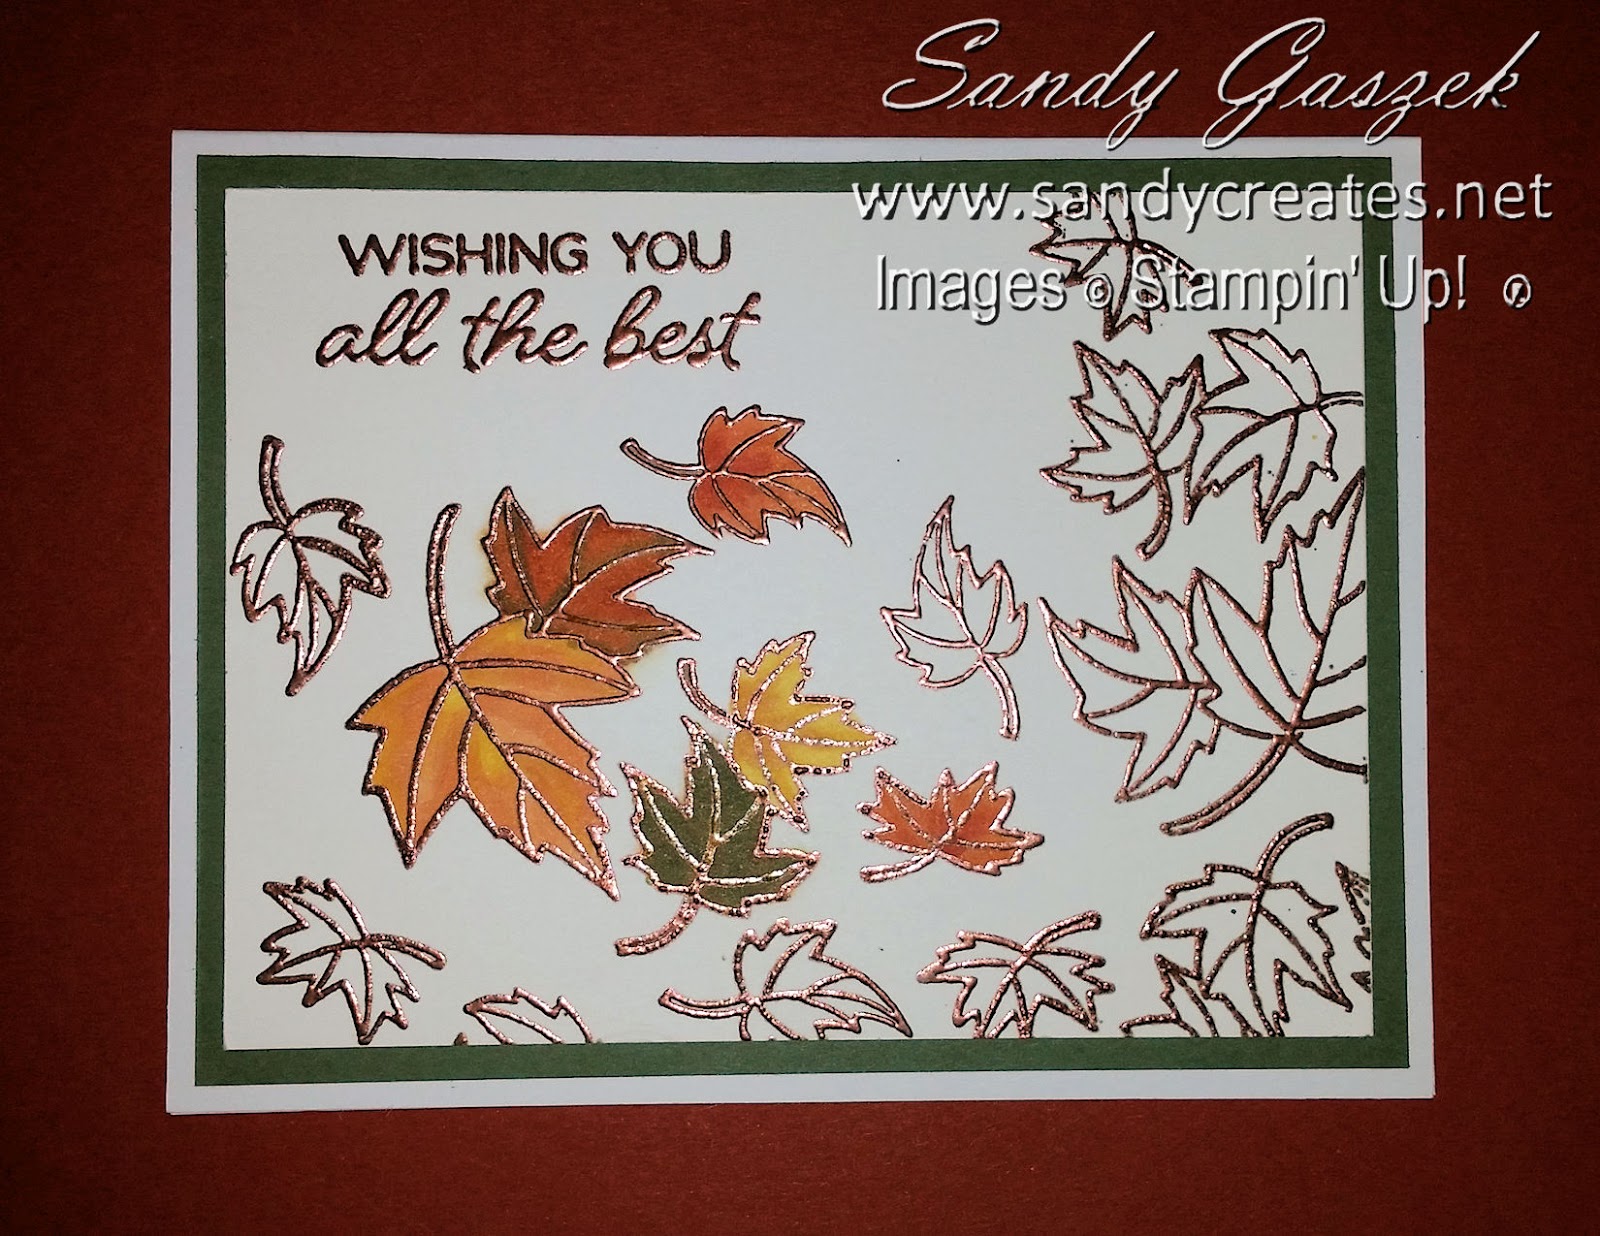
Stamp Set: Blended Seasons
Sentiment Stamp Set: Blended Seasons
Dies: Stitched Seasons Framelits
Inks: Coastal Cabana Ink, Versamark Ink, Coastal Cabana Ink Refill
Stampin' Blends Sets: Pool Party, Old Olive, Daffodil Delight
Stampin' Write Marker: Pool Party
Cardstock:
--Whisper White Card Base: A2 Card
--Pear Pizzazz Bottom Base Mat: (5-1/4"H x 4"W)
--Watercolor Paper Top Mat for Framelit - spritzed with color: (6-1/2" x 4-1/2")
--Whisper White to stamp flower on: (5" x 3-3/4")
Other Tools: Stampin' Spritzer, Detailed Trio Punch, Embossing Buddy, Embossing Powder, Heat Tool, Misti Stamp Positioning Tool
Basics: Paper Trimmer, Adhesive Tape Runner, Tombow Glue, Dimensionals, Mini Glue Dots, Scissors, Glass Blocks, Big Shot Die Cutting Machine
Directions:
--Cut all Cardstock Mats & Pieces per list.
--Use Detailed Trio Punch to cut design in corners of Pear Pizzazz mat.
--Add Water & 5 drops Coastal Cabana ink refill to Stampin' Spritzer & spray on Watercolor Paper (see video for another alternative method). Let paper completely Dry.
--When watercolor paper is dry, die cut with largest framelit from Stitched Seasons Framelits.
--Dust powder from Embossing Buddy across WW CS.
--Stamp WW CS using Versamark ink with flower from Blended Seasons.
--Sprinkle Embossing Powder (I used a light Teal powder by Recollections), tape off excess, then use Heat Tool to melt the embossing powder. Let cool.
--Fussy cut the flower.
--Use Pool Party Stampin Write marker to color the white edges of the paper (see video).
--Use Misti Stamp Positioning Tool to stamp sentiment using Coastal Cabana ink (see video).
--Glue Flower to the Framelit die cut as shown.
--Glue Framelit onto the PP Bottom Mat & then both to the Card Base using tape runner.


