
Material List:
This is
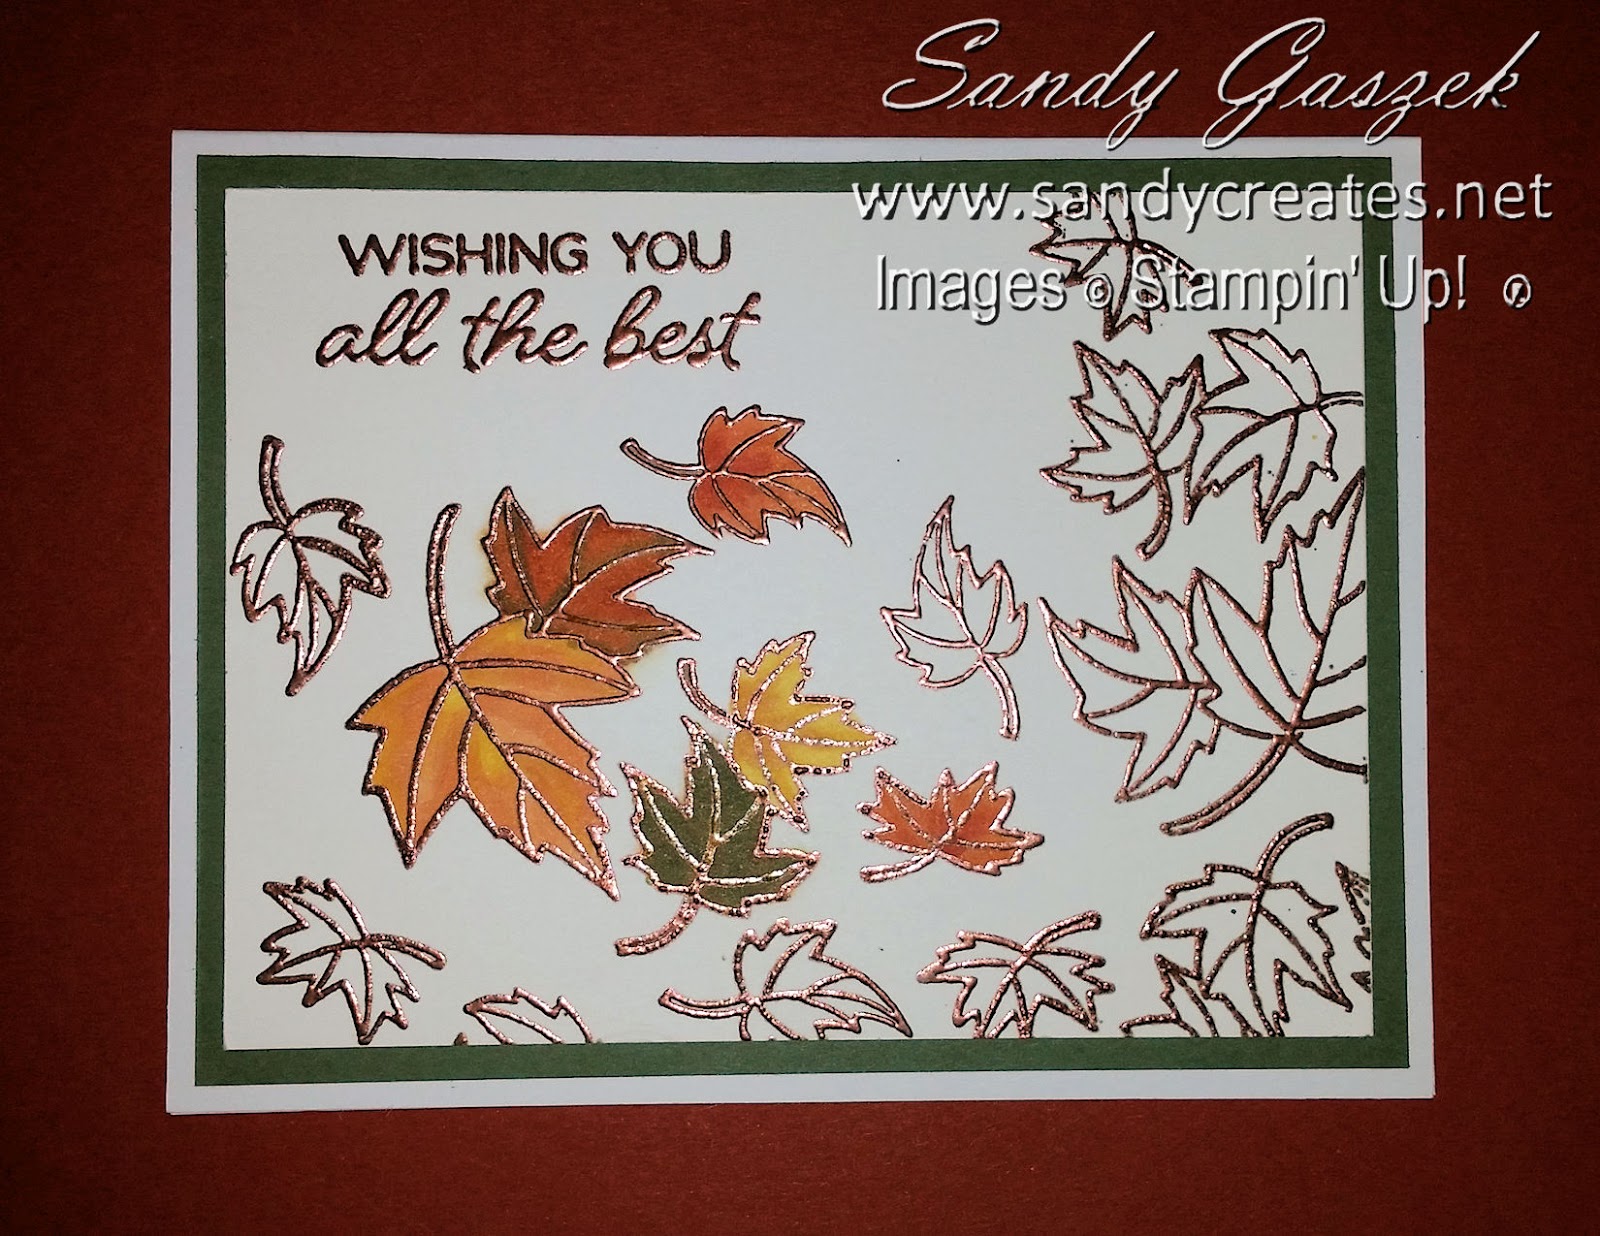
an A7 Size card!
-Stamp Set: Amazing You*
-Dies: Celebrate You
-Cardstock: Bermuda Bay, Whisper White
-Inks: Pool Party
-Basics: Paper Trimmer, Adhesive Tape Runner, Tombow Glue, Dimensionals, Mini Glue Dots, Scissors, Big Shot
-Card Base: Whisper White A2 Card (Folded Size 7" x 5")
-Bermuda Bay Bottom Base Mat: (6-3/4" x 4-3/4" )
-Whisper White Top Mat: (6-1/2" x 4-1/2" )
Directions:
--Cut the top and bottom mats to size per list.
--Stamp the Whisper White mat with the flower stamp from Amazing You with Pool Party Ink.*
--Die Cut the 3 sentiments from the Celebrate You Thinlets
--Glue the dies onto the stamped white mat as indicated.
--Attach White Mat to Bermuda Bay Bottom Mat & then both to the Card Base using tape runner.
--Stamp the Whisper White mat with the flower stamp from Amazing You with Pool Party Ink.*
--Die Cut the 3 sentiments from the Celebrate You Thinlets
--Glue the dies onto the stamped white mat as indicated.
--Attach White Mat to Bermuda Bay Bottom Mat & then both to the Card Base using tape runner.


